
How do I set up my organiser account on uDink?
Your uDink organiser payment account—sometimes searched for as an organizer account—is set up through Stripe. This guide covers the onboarding route for a Singapore individual.
New to Stripe? Read what Stripe is and how Stripe protects transactions.
Before you start
Prepare:
- a mobile number that can receive verification codes;
- an accessible email address;
- your legal name and personal particulars;
- your Singapore bank-account details; and
- identity or address documents if Stripe requests them.
Stripe determines the exact information and documents required. The screens and fields may vary according to the information you enter and Stripe's current requirements.
Start from uDink
- Open uDink and go to Profile.
- Expand Account Management.
- Find Host Payment Account.
- Select Set Up.
- Continue to the Stripe-hosted onboarding page.
Security reminder: Confirm that you are on an official Stripe-hosted page before entering personal, identity or bank information. Never send identity documents, verification codes or bank details through chat or email.
Complete the Stripe onboarding
Stripe controls this process, so follow the fields and instructions shown for your account.
- Enter the email address and mobile number Stripe requests.
- Complete Stripe's security verification.
- If Stripe asks whether the business has a UEN, indicate that it does not.
- Select Individual as the account or business type.
- Enter your legal personal details exactly as they appear in official records.
- Complete identity verification using Myinfo or another method offered by Stripe.
- Select the business category that most accurately describes your activity.
- Enter a short and accurate activity description.
- Add the bank account requested by Stripe.
- Review the information and submit it.
An accurate activity description may be:
I organise social sports sessions for my community.
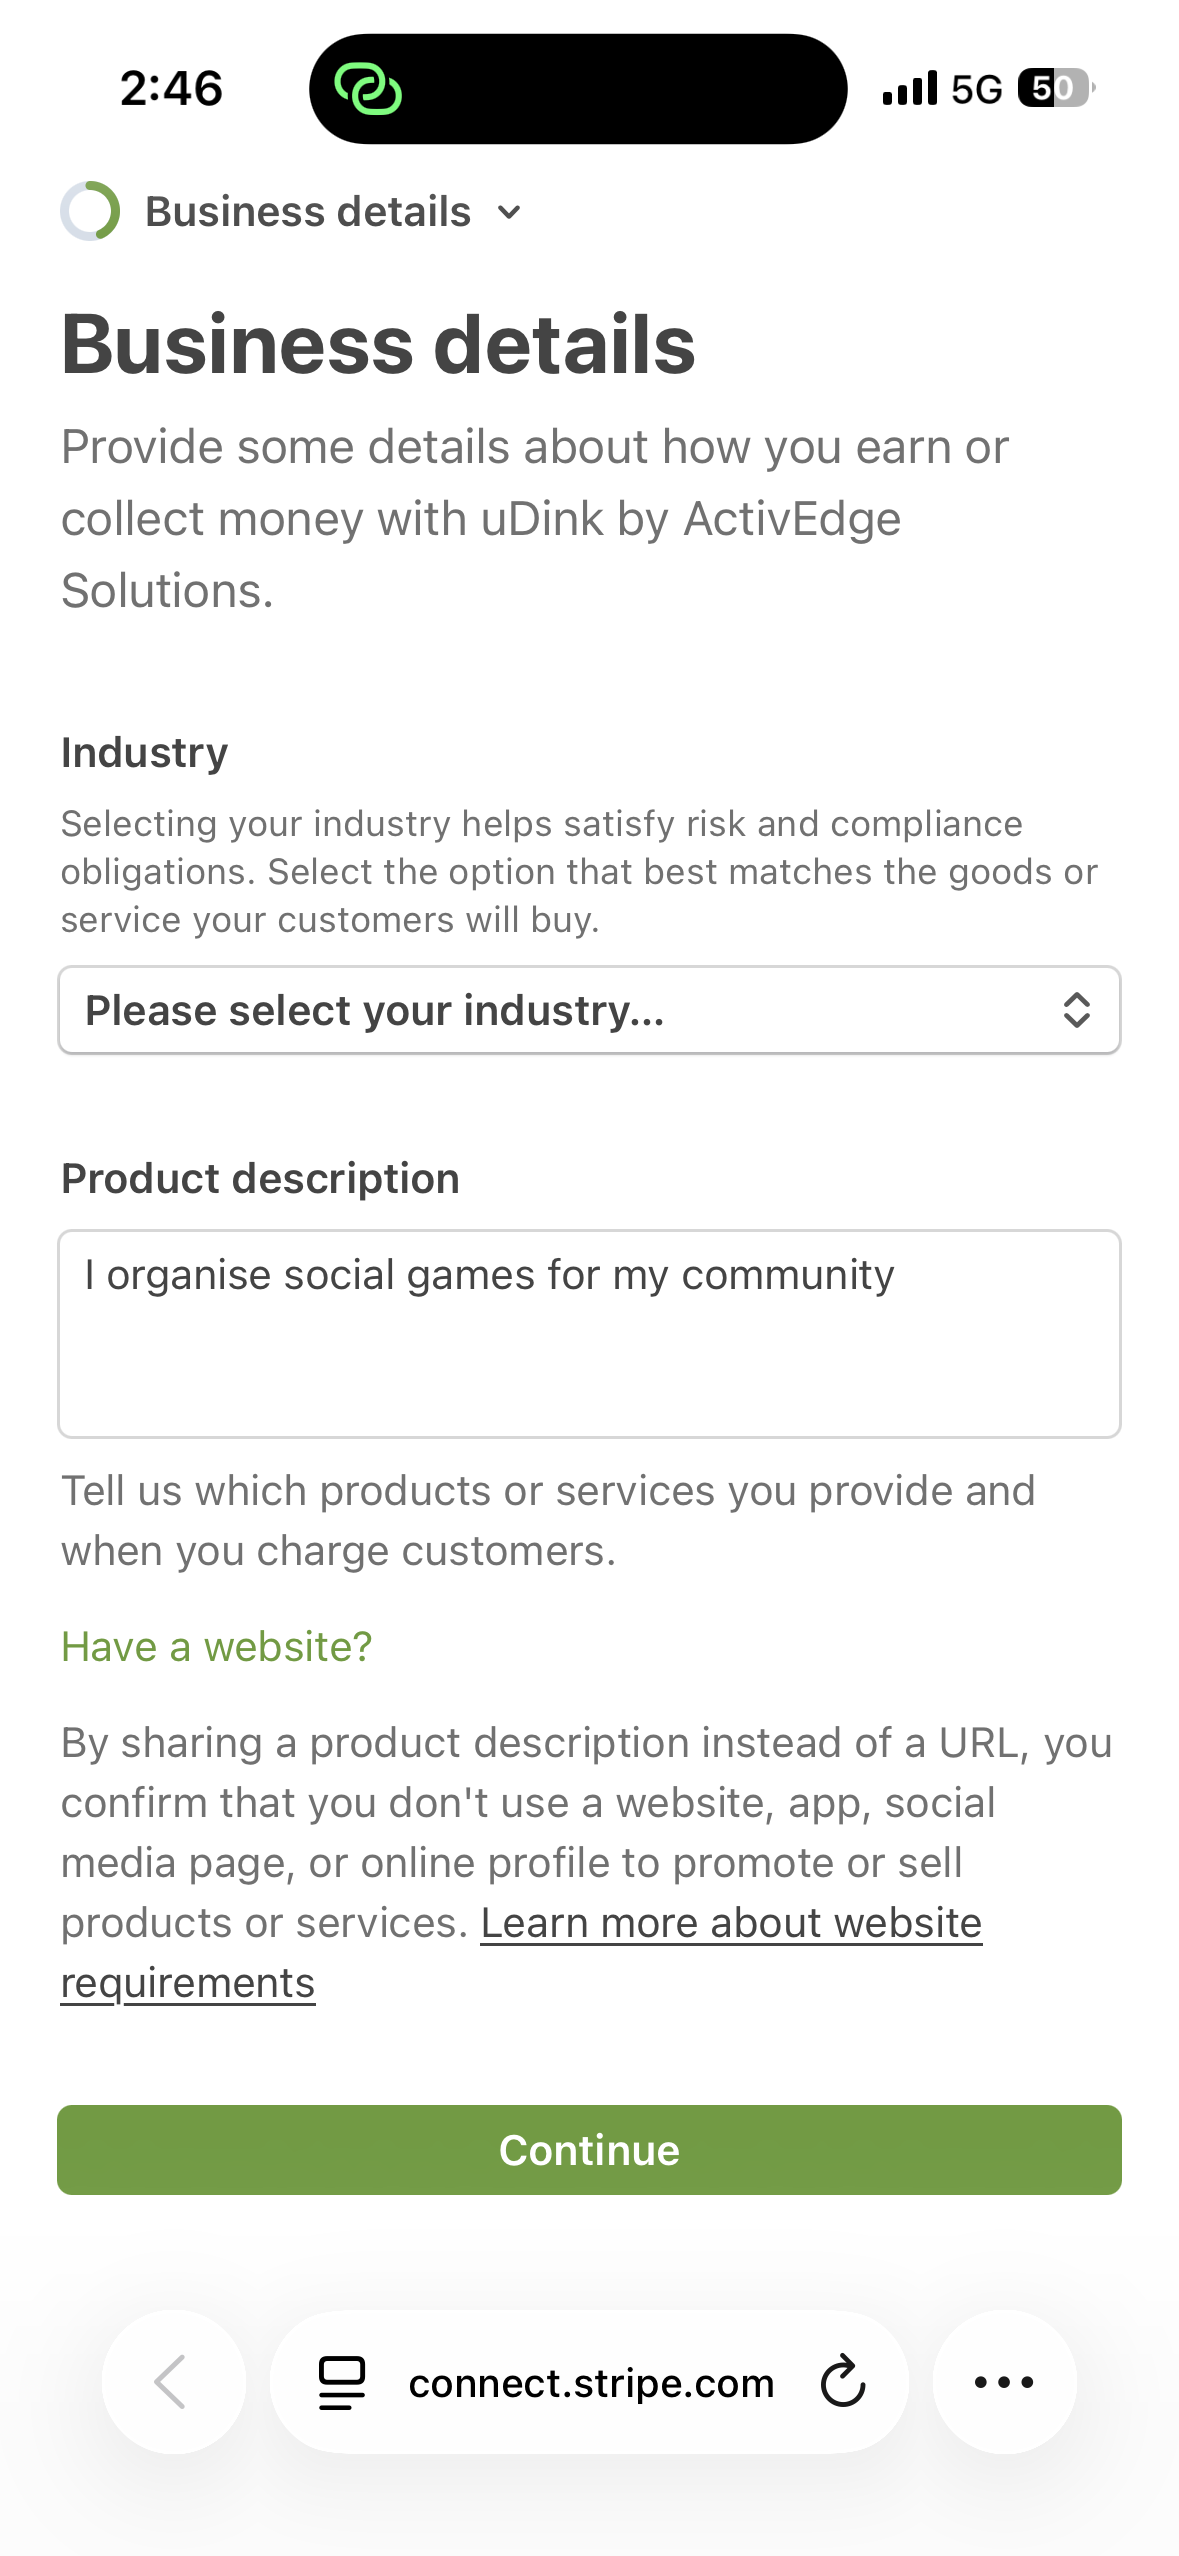 Choose the industry that best matches your activity and describe how you organise social sports sessions.
Choose the industry that truthfully describes what you do. Do not select a category merely because it appears in an example.
Return to uDink
Return to Profile → Account Management and review Host Payment Account.
Your account may remain under review or require more information. The app can show Set Up, Pending, Action Required, Update or Verified, depending on the account state. Follow the instructions displayed.
Do not treat the submission screen as confirmation that onboarding is complete.
What happens next?
Submitting the information does not by itself make the account ready. The relevant Stripe payment and payout capabilities must be enabled before uDink treats the account as eligible for the paid-session features it supports.
Return to Account Management if Stripe or uDink asks for more information.
Common problems
Stripe requests additional information
Provide only the information or documents requested in the Stripe-hosted flow. Stripe lists its currently acceptable verification documents.
Personal details do not match
Check that your legal name, date of birth, address and other particulars match the official records or documents you use for verification.
Bank-account details are rejected
Recheck the bank, branch and account details requested by Stripe. Make sure the account-holder information meets the requirements shown in the onboarding flow.
The account remains under review
Review Host Payment Account for a current instruction. Verification has no fixed completion time.
Stripe shows that action is required
Open Host Payment Account and follow the Stripe-hosted prompt. Complete every outstanding requirement shown for the account.
If the issue remains unresolved, email admin@udink.app without including identity documents, verification codes or full bank details.
Security and privacy
Identity details and verification documents are submitted through Stripe's onboarding process. uDink may receive limited connected-account information, capability information and verification status needed to operate its payment features.